You're reading the documentation for a development version. For the latest released version, please have a look at Iron.
gazebo_ros2_control
This is a ROS 2 package for integrating the ros2_control controller architecture with the Gazebo Classic simulator.
Note
Gazebo Classic goes end-of-life in January of 2025. We strongly recommend all users migrate from Gazebo Classic (numbered releases) to modern Gazebo (formerly known as Ignition 3, lettered releases) before January 2025.
Furthermore, Gazebo Classic is not released to Ubuntu Noble. As a consequence, gazebo_ros2_control won’t be released for Jazzy and Rolling anymore.
This package provides a Gazebo plugin which instantiates a ros2_control controller manager and connects it to a Gazebo model.
Usage
Modifying or building your own
cd Docker
docker build -t gazebo_ros2_control .
To run the demo
Using Docker
Docker allows us to run the demo without GUI if we don’t configure it properly. The following command runs the demo without GUI:
docker run -it --rm --name gazebo_ros2_control_demo --net host gazebo_ros2_control ros2 launch gazebo_ros2_control_demos cart_example_position.launch.py gui:=falseThe in your local machine you can run the Gazebo Classic client:
gzclient
Using Rocker
To run the demo with GUI we are going to use rocker which is a tool to run docker images with customized local support injected for things like nvidia support. And user id specific files for cleaner mounting file permissions. You can install this tool with the following instructions.
The following command will launch Gazebo Classic:
rocker --x11 --nvidia --name gazebo_ros2_control_demo gazebo_ros2_control:latestThe following commands allow to move the cart in the rail:
docker exec -it gazebo_ros2_control_demo bash
source /home/ros2_ws/install/setup.bash
ros2 run gazebo_ros2_control_demos example_position
Add ros2_control tag to a URDF
Simple setup
To use ros2_control with your robot, you need to add some additional elements to your URDF.
You should include the tag <ros2_control> to access and control the robot interfaces. We should
include
a specific
<plugin>for our robot<joint>tag including the robot controllers: commands and states.
<ros2_control name="GazeboSystem" type="system">
  <hardware>
    <plugin>gazebo_ros2_control/GazeboSystem</plugin>
  </hardware>
  <joint name="slider_to_cart">
    <command_interface name="effort">
      <param name="min">-1000</param>
      <param name="max">1000</param>
    </command_interface>
    <state_interface name="position">
      <param name="initial_value">1.0</param>
    </state_interface>
    <state_interface name="velocity"/>
    <state_interface name="effort"/>
  </joint>
</ros2_control>
Using mimic joints in simulation
To use mimic joints in gazebo_ros2_control you should define its parameters in your URDF, i.e, set the <mimic> tag to the mimicked joint (see the URDF specification)
<joint name="right_finger_joint" type="prismatic">
  <axis xyz="0 1 0"/>
  <origin xyz="0.0 -0.48 1" rpy="0.0 0.0 0.0"/>
  <parent link="base"/>
  <child link="finger_right"/>
  <limit effort="1000.0" lower="0" upper="0.38" velocity="10"/>
</joint>
<joint name="left_finger_joint" type="prismatic">
  <mimic joint="right_finger_joint" multiplier="1" offset="0"/>
  <axis xyz="0 1 0"/>
  <origin xyz="0.0 0.48 1" rpy="0.0 0.0 3.1415926535"/>
  <parent link="base"/>
  <child link="finger_left"/>
  <limit effort="1000.0" lower="0" upper="0.38" velocity="10"/>
</joint>
The mimic joint must not have command interfaces configured in the <ros2_control> tag, but state interfaces can be configured.
Note
Independent of the interface type of the mimicked joint in the <ros2_control> tag, the mimic joint will use the position interface of the gazebo classic physic engine to follow the position of the mimicked joint.
Using PID control joints
To use PID control joints in gazebo_ros2_control, you should define their parameters inside the <joint> tag
within the <ros2_control> tag. These PID joints can be controlled either in position or velocity.
To control a joint with velocity PID, simply set its
command_interfacetovelocity_pid.To control a joint with position PID, set its
command_interfacetoposition_pid.
Note
You cannot have both command interfaces set to position and position_pid for the same joint. The same restriction applies to velocity (and velocity_pid).
To create a system with one joint that can be controlled using both position_pid and velocity_pid, follow this example:
<ros2_control name="GazeboSystem" type="system">
   <hardware>
     <plugin>gazebo_ros2_control/GazeboSystem</plugin>
   </hardware>
   <joint name="slider_to_cart">

     <param name="pos_kp">10</param>
     <param name="pos_ki">1</param>
     <param name="pos_kd">2</param>
     <param name="pos_max_integral_error">10000</param>

     <param name="vel_kp">10</param>
     <param name="vel_ki">5</param>
     <param name="vel_kd">2</param>
     <param name="vel_max_integral_error">10000</param>

     <command_interface name="position_pid"/>
     <command_interface name="velocity_pid"/>

     <state_interface name="position">
       <param name="initial_value">1.0</param>
     </state_interface>
     <state_interface name="velocity"/>
     <state_interface name="effort"/>
   </joint>
 </ros2_control>
Where the parameters are as follows:
pos_kp: Proportional gainpos_ki: Integral gainpos_kd: Derivative gainpos_max_integral_error: Maximum summation of the error
The same definitions apply to the vel_* parameters.
Add the gazebo_ros2_control plugin
In addition to the ros2_control tags, a Gazebo plugin needs to be added to your URDF that actually parses the ros2_control tags and loads the appropriate hardware interfaces and controller manager. By default the gazebo_ros2_control plugin is very simple, though it is also extensible via an additional plugin architecture to allow power users to create their own custom robot hardware interfaces between ros2_control and Gazebo Classic.
<gazebo>
  <plugin filename="libgazebo_ros2_control.so" name="gazebo_ros2_control">
    <parameters>$(find gazebo_ros2_control_demos)/config/cart_controller.yaml</parameters>
  </plugin>
</gazebo>
The gazebo_ros2_control <plugin> tag also has the following optional child elements:
<parameters>: A YAML file with the configuration of the controllers. This element can be given multiple times to load multiple files.<hold_joints>: if set to true (default), it will hold the joints’ position if their interface was not claimed, e.g., the controller hasn’t been activated yet.<controller_manager_name>: Set controller manager name (default:controller_manager)
Additionally, one can specify a namespace and remapping rules, which will be forwarded to the controller_manager and loaded controllers. Add the following <ros> section:
<gazebo>
  <plugin filename="libgazebo_ros2_control.so" name="gazebo_ros2_control">
    ...
    <ros>
      <namespace>my_namespace</namespace>
      <remapping>/robot_description:=/robot_description_full</remapping>
    </ros>
  </plugin>
</gazebo>
Default gazebo_ros2_control Behavior
By default, without a <plugin> tag, gazebo_ros2_control will attempt to get all of the information it needs to interface with a ros2_control-based controller out of the URDF. This is sufficient for most cases, and good for at least getting started.
The default behavior provides the following ros2_control interfaces:
hardware_interface::JointStateInterface
hardware_interface::EffortJointInterface
hardware_interface::VelocityJointInterface
Advanced: custom gazebo_ros2_control Simulation Plugins
The gazebo_ros2_control Gazebo plugin also provides a pluginlib-based interface to implement custom interfaces between Gazebo Classic and ros2_control for simulating more complex mechanisms (nonlinear springs, linkages, etc).
These plugins must inherit gazebo_ros2_control::GazeboSystemInterface which implements a simulated ros2_control
hardware_interface::SystemInterface. SystemInterface provides API-level access to read and command joint properties.
The respective GazeboSystemInterface sub-class is specified in a URDF model and is loaded when the robot model is loaded. For example, the following XML will load the default plugin:
<ros2_control name="GazeboSystem" type="system">
  <hardware>
    <plugin>gazebo_ros2_control/GazeboSystem</plugin>
  </hardware>
  ...
<ros2_control>
<gazebo>
  <plugin name="gazebo_ros2_control" filename="libgazebo_ros2_control.so">
    ...
  </plugin>
</gazebo>
Set up controllers
Use the tag <parameters> inside <plugin> to set the YAML file with the controller configuration.
<gazebo>
  <plugin name="gazebo_ros2_control" filename="libgazebo_ros2_control.so">
    <parameters>$(find gazebo_ros2_control_demos)/config/cart_controller.yaml</parameters>
  </plugin>
</gazebo>
The following is a basic configuration of the controllers:
joint_state_broadcaster: This controller publishes the state of all resources registered to ahardware_interface::StateInterfaceto a topic of typesensor_msgs/msg/JointState.joint_trajectory_controller: This controller creates an action called/joint_trajectory_controller/follow_joint_trajectoryof typecontrol_msgs::action::FollowJointTrajectory.
controller_manager:
  ros__parameters:
    update_rate: 100  # Hz

    joint_trajectory_controller:
      type: joint_trajectory_controller/JointTrajectoryController

    joint_state_broadcaster:
      type: joint_state_broadcaster/JointStateBroadcaster

joint_trajectory_controller:
  ros__parameters:
    joints:
      - slider_to_cart
    command_interfaces:
      - position
    state_interfaces:
      - position
      - velocity
gazebo_ros2_control_demos
This package contains the contents for testing gazebo_ros2_control. It is running Gazebo Classic and some other ROS 2 nodes.
There are some examples in the Gazebo_ros2_control_demos package.
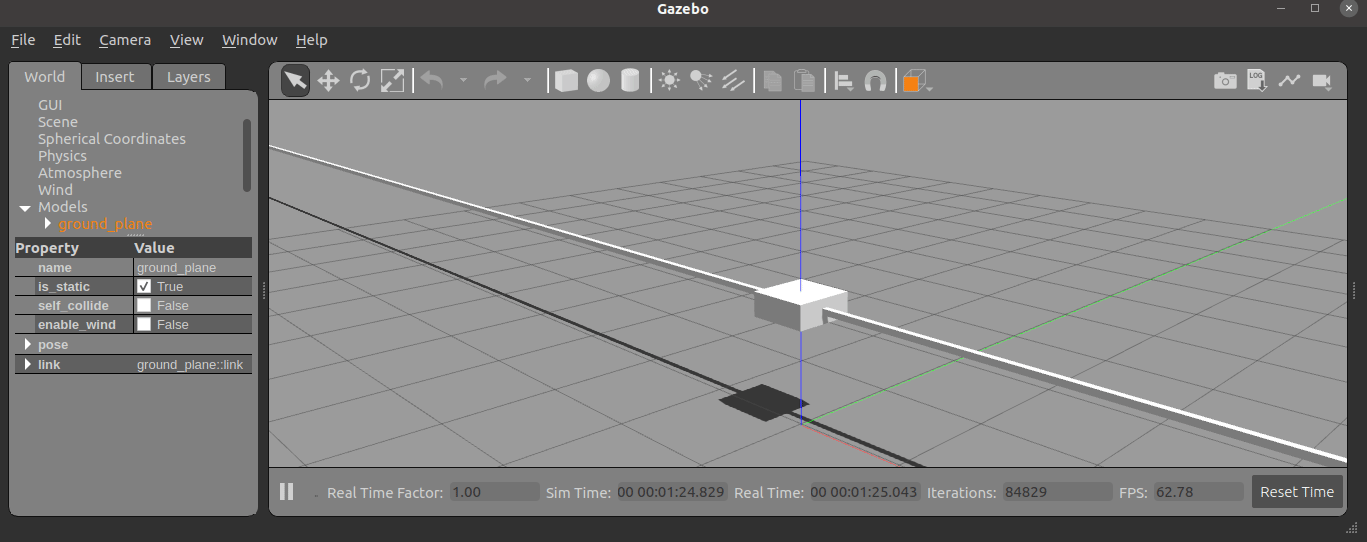
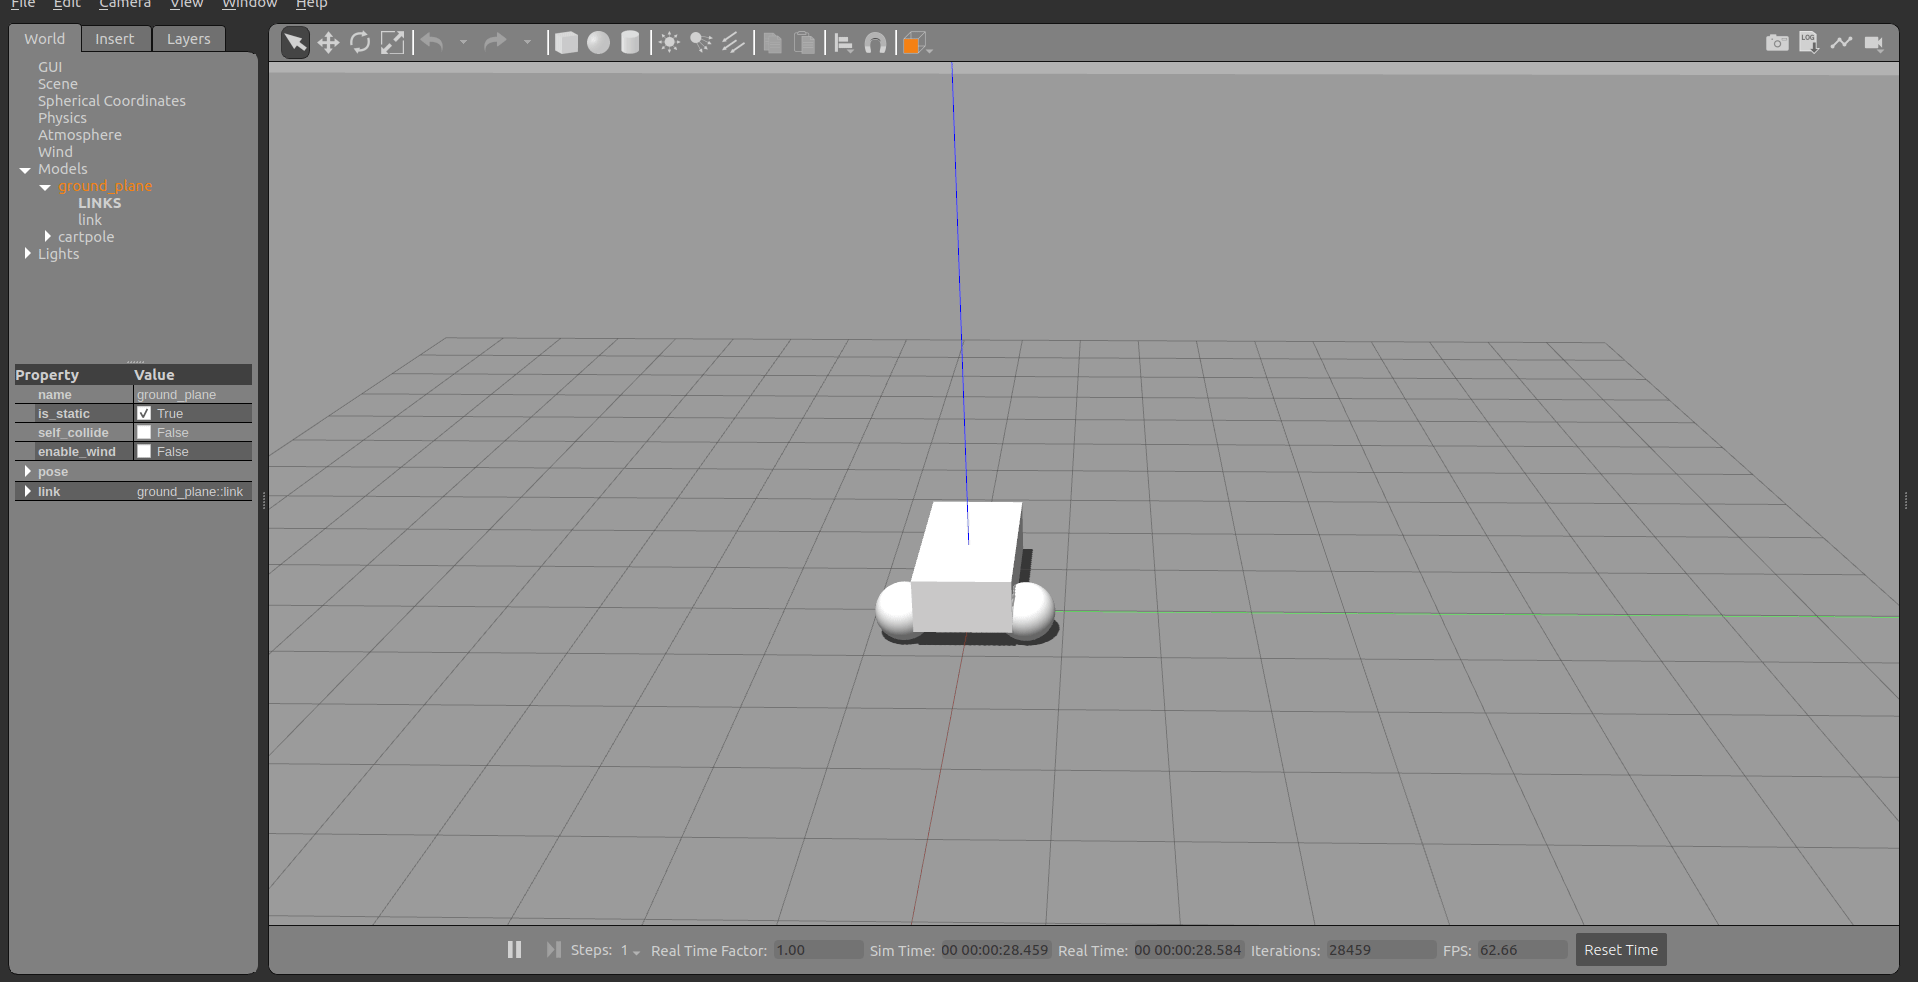
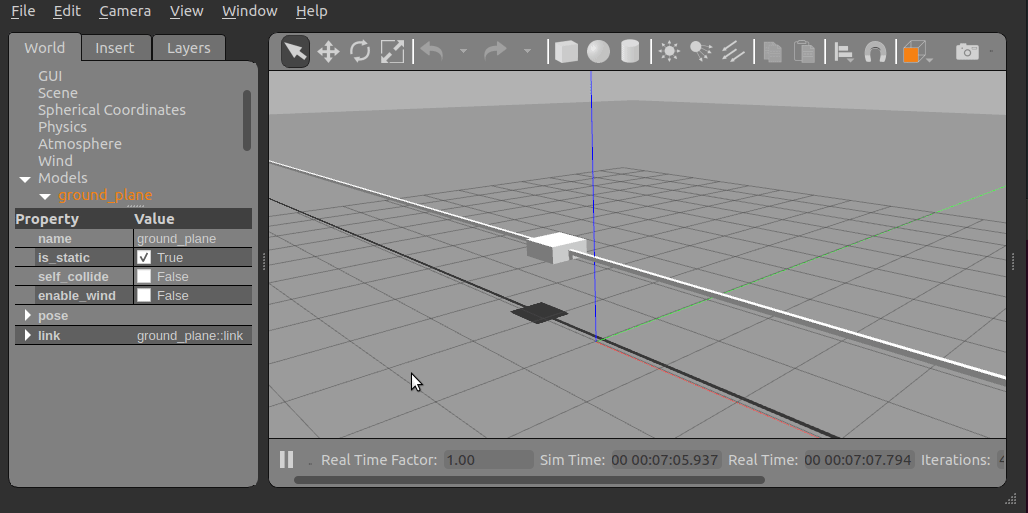
Cart on rail
These examples allow to launch a cart in a 30 meter rail.
You can run some of the configuration running the following commands:
ros2 launch gazebo_ros2_control_demos cart_example_position.launch.py
ros2 launch gazebo_ros2_control_demos cart_example_velocity.launch.py
ros2 launch gazebo_ros2_control_demos cart_example_effort.launch.py
When the Gazebo world is launched you can run some of the following commands to move the cart.
ros2 run gazebo_ros2_control_demos example_position
ros2 run gazebo_ros2_control_demos example_position_pid
ros2 run gazebo_ros2_control_demos example_velocity
ros2 run gazebo_ros2_control_demos example_effort
Mobile robots
You can run some of the mobile robots running the following commands:
ros2 launch gazebo_ros2_control_demos diff_drive.launch.py
ros2 launch gazebo_ros2_control_demos tricycle_drive.launch.py
When the Gazebo world is launched you can run some of the following commands to move the robots.
ros2 run gazebo_ros2_control_demos example_diff_drive
ros2 run gazebo_ros2_control_demos example_tricycle_drive
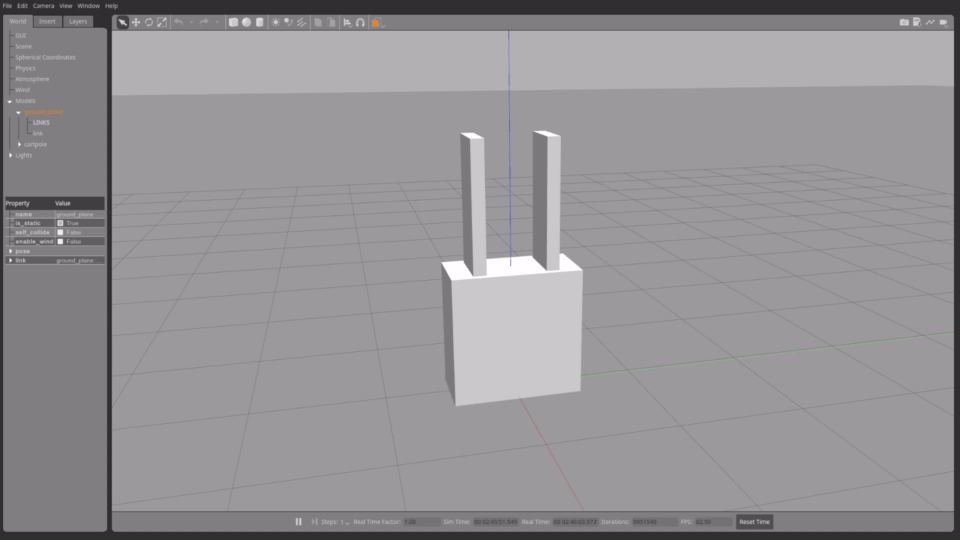
Gripper
The following example shows a parallel gripper with a mimic joint:
ros2 launch gazebo_ros2_control_demos gripper_mimic_joint_example_position.launch.py
To demonstrate the setup of the initial position and a position-mimicked joint in case of an effort command interface of the joint to be mimicked, run
ros2 launch gazebo_ros2_control_demos gripper_mimic_joint_example_effort.launch.py
instead.
Send example commands with
ros2 run gazebo_ros2_control_demos example_gripper
Pendulum with passive joints
The following example shows a cart with a pendulum arm. This uses the effort command interface for the cart’s degree of freedom on the rail, and the physics of the passive joint of the pendulum is solved correctly.
ros2 launch gazebo_ros2_control_demos pendulum_example_effort.launch.py
ros2 run gazebo_ros2_control_demos example_effort
Note
If the position command interface is used instead, the motion of the pendulum is not calculated correctly and does not move at all, see this PR. This also holds true if a mimicked joint with position interface is used. To demonstrate this, run
ros2 launch gazebo_ros2_control_demos pendulum_example_position.launch.py
ros2 run gazebo_ros2_control_demos example_position
PID control joints
The following examples shows a vertical cart control by a PID joint using position and velocity cmd.
ros2 launch gazebo_ros2_control_demos vertical_cart_example_position_pid.launch.py
ros2 launch gazebo_ros2_control_demos vertical_cart_example_velocity_pid.launch.py
ros2 run gazebo_ros2_control_demos example_position_pid
ros2 run gazebo_ros2_control_demos example_velocity