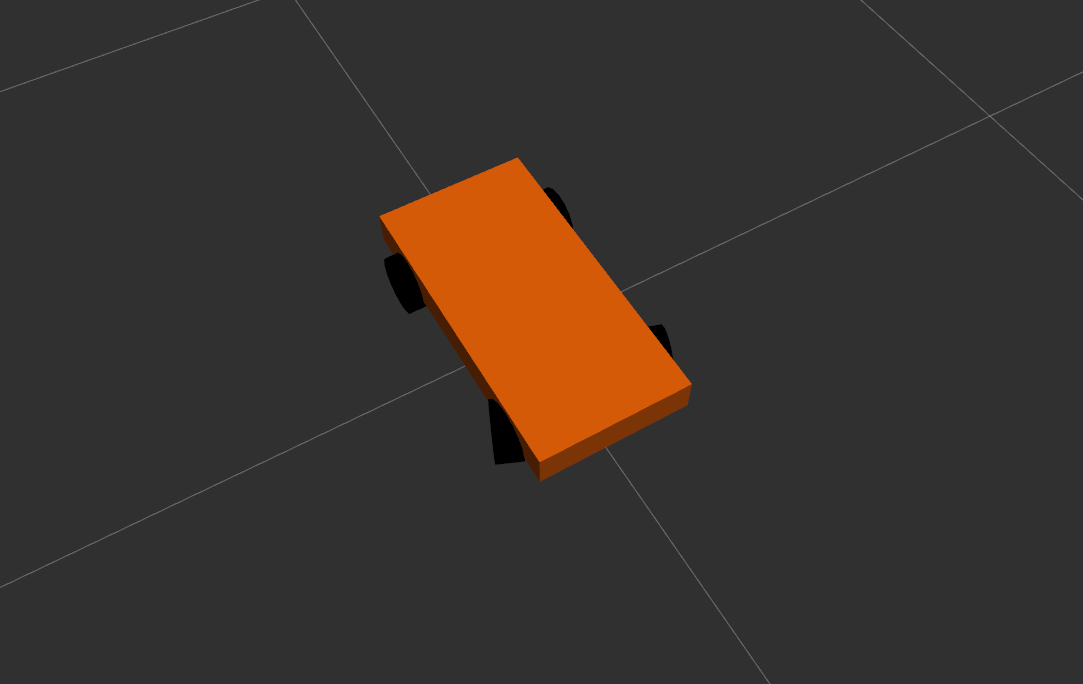
CarlikeBot
CarlikeBot is a simple mobile base using bicycle model with 4 wheels.
This example shows how to use the bicycle steering controller, which is a sub-design of the steering controller library.
Even though the robot has 4 wheels with front steering, the vehicle dynamics of this robot is similar to a bicycle. There is a virtual front wheel joint that is used to control the steering angle of the front wheels and the front wheels on the robot mimic the steering angle of the virtual front wheel joint. Similarly the rear wheels are controlled by a virtual rear wheel joint.
This example shows how to use the bicycle steering controller to control a carlike robot with 4 wheels but only 2 joints that can be controlled, one for steering and one for driving.
The communication is done using proprietary API to communicate with the robot control box.
Data for all joints is exchanged at once.
The CarlikeBot URDF files can be found in ros2_control_demo_description/carlikebot/urdf folder.
Note
The commands below are given for a local installation of this repository and its dependencies as well as for running them from a docker container. For more information on the docker usage see Using Docker.
Tutorial steps
To check that CarlikeBot description is working properly use following launch commands
ros2 launch ros2_control_demo_example_11 view_robot.launch.py
Warning
Getting the following output in terminal is OK:
Warning: Invalid frame ID "odom" passed to canTransform argument target_frame - frame does not exist. This happens becausejoint_state_publisher_guinode needs some time to start.
To start CarlikeBot example open a terminal, source your ROS2-workspace and execute its launch file with
ros2 launch ros2_control_demo_example_11 carlikebot.launch.py remap_odometry_tf:=true
The launch file loads and starts the robot hardware, controllers and opens RViz. In the starting terminal you will see a lot of output from the hardware implementation showing its internal states. This excessive printing is only added for demonstration. In general, printing to the terminal should be avoided as much as possible in a hardware interface implementation.
If you can see an orange box with four wheels in RViz everything has started properly.
Note
For robots being fixed to the world frame, like the RRbot examples of this repository, the
robot_state_publishersubscribes to the/joint_statestopic and creates the TF tree. For mobile robots, we need a node publishing the TF tree including the pose of the robot in the world coordinate systems. The most simple one is the odometry calculated by thebicycle_steering_controller.By default, the controller publishes the odometry of the robot to the
~/tf_odometrytopic. Theremap_odometry_tfargument is used to remap the odometry TF to the/tftopic. If you set this argument tofalse(or not set it at all) the TF tree will not be updated with the odometry data.Now, let’s introspect the control system before moving CarlikeBot. Check if the hardware interface loaded properly, by opening another terminal and executing
ros2 control list_hardware_interfaces
You should get
command interfaces
   bicycle_steering_controller/angular/position [unavailable] [unclaimed]
   bicycle_steering_controller/linear/velocity [unavailable] [unclaimed]
   virtual_front_wheel_joint/position [available] [claimed]
   virtual_rear_wheel_joint/velocity [available] [claimed]
state interfaces
   virtual_front_wheel_joint/position
   virtual_rear_wheel_joint/position
   virtual_rear_wheel_joint/velocity
The
[claimed]marker on command interfaces means that a controller has access to command CarlikeBot.Check if controllers are running
ros2 control list_controllers
You should get
joint_state_broadcaster[joint_state_broadcaster/JointStateBroadcaster] active
bicycle_steering_controller[bicycle_steering_controller/BicycleSteeringController] active
If everything is fine, now you can send a command to bicycle_steering_controller using ROS 2 CLI:
ros2 topic pub --rate 30 /bicycle_steering_controller/reference geometry_msgs/msg/TwistStamped "
  twist:
    linear:
      x: 1.0
      y: 0.0
      z: 0.0
    angular:
      x: 0.0
      y: 0.0
      z: 0.1"
You should now see an orange box circling in RViz. Also, you should see changing states in the terminal where launch file is started.
[CarlikeBotSystemHardware]: Got position command: 0.03 for joint 'virtual_front_wheel_joint'.
[CarlikeBotSystemHardware]: Got velocity command: 20.01 for joint 'virtual_rear_wheel_joint'.
Files used for this demos
Launch file: carlikebot.launch.py
Controllers yaml: carlikebot_controllers.yaml
URDF file: carlikebot.urdf.xacro
Description: carlikebot_description.urdf.xacro
ros2_controltag: carlikebot.ros2_control.xacro
RViz configuration: carlikebot.rviz
Hardware interface plugin: carlikebot_system.cpp
Controllers from this demo
Joint State Broadcaster(ros2_controllers repository): docBicycle Steering Controller(ros2_controllers repository): doc